You can install the KubeClarity backend using Helm, or you can build and run it locally.
Prerequisites
KubeClarity requires these Kubernetes permissions:
| Permission | Reason |
|---|---|
| Read secrets in CREDS_SECRET_NAMESPACE (default: kubeclarity) | This allows you to configure image pull secrets for scanning private image repositories. |
| Read config maps in the KubeClarity deployment namespace. | This is required for getting the configured template of the scanner job. |
| List pods in cluster scope. | This is required for calculating the target pods that need to be scanned. |
| List namespaces. | This is required for fetching the target namespaces to scan in K8s runtime scan UI. |
| Create and delete jobs in cluster scope. | This is required for managing the jobs that scan the target pods in their namespaces. |
Prerequisites for AWS
If you are installing KubeClarity on AWS, complete the following steps. These are needed because KubeClarity uses a persistent PostgreSQL database, and that requires a volume.
- Make sure that your EKS cluster is 1.23 or higher.
- Install the EBS CSI Driver EKS add-on. For details, see Amazon EKS add-ons.
- Configure the EBS CSI Driver with IAMServiceRole and policies. For details, see Creating the Amazon EBS CSI driver IAM role.
Install using Helm
-
Add the Helm repository.
helm repo add kubeclarity https://openclarity.github.io/kubeclarity -
Save the default KubeClarity chart values.
helm show values kubeclarity/kubeclarity > values.yaml -
(Optional) Check the configuration in the
values.yamlfile and update the required values if needed. You can skip this step to use the default configuration.- To enable and configure the supported SBOM generators and vulnerability scanners, check the
analyzerandscannerconfigurations under thevulnerability-scannersection. You can skip this step to use the default configuration settings.
- To enable and configure the supported SBOM generators and vulnerability scanners, check the
-
Deploy KubeClarity with Helm.
-
If you have customized the
values.yamlfile, run:helm install --values values.yaml --create-namespace kubeclarity kubeclarity/kubeclarity --namespace kubeclarity -
To use the default configuration, run:
helm install --create-namespace kubeclarity kubeclarity/kubeclarity --namespace kubeclarity -
For an OpenShift Restricted SCC compatible installation, run:
helm install --values values.yaml --create-namespace kubeclarity kubeclarity/kubeclarity --namespace kubeclarity --set global.openShiftRestricted=true \
--set kubeclarity-postgresql.securityContext.enabled=false --set kubeclarity-postgresql.containerSecurityContext.enabled=false \
--set kubeclarity-postgresql.volumePermissions.enabled=true --set kubeclarity-postgresql.volumePermissions.securityContext.runAsUser="auto" \
--set kubeclarity-postgresql.shmVolume.chmod.enabled=false
-
-
Wait until all the pods are in ‘Running’ state. Check the output of the following command:
kubectl get pods --namespace kubeclarityThe output should be similar to:
NAME READY STATUS RESTARTS AGE kubeclarity-kubeclarity-7689c7fbb7-nlhh5 1/1 Running 0 82s kubeclarity-kubeclarity-grype-server-79b6fb4b88-5xtbh 1/1 Running 0 82s kubeclarity-kubeclarity-postgresql-0 1/1 Running 0 82s kubeclarity-kubeclarity-sbom-db-6895d97d5d-55jnj 1/1 Running 0 82s -
Port-forward to the KubeClarity UI.
kubectl port-forward --namespace kubeclarity svc/kubeclarity-kubeclarity 9999:8080 -
(Optional) Install a sample application (sock shop) to run your scans on.
-
Create a namespace for the application.
kubectl create namespace sock-shop -
Install the application.
kubectl apply -f https://raw.githubusercontent.com/microservices-demo/microservices-demo/master/deploy/kubernetes/complete-demo.yaml -
Check that the installation was successful.
kubectl get pods --namespace sock-shopExpected output:
NAME                            READY   STATUS    RESTARTS   AGE
carts-5dc994cf5b-4rhfj          2/2     Running   0          44h
carts-db-556cbbd5fb-64qls       2/2     Running   0          44h
catalogue-b7b968c97-b9k8p       2/2     Running   0          44h
catalogue-db-f7547dd6-smzk2     2/2     Running   0          44h
front-end-848c97475d-b7sl8      2/2     Running   0          44h
orders-7d47794476-9fjsx         2/2     Running   0          44h
orders-db-bbfb8f8-7ndr6         2/2     Running   0          44h
payment-77bd4bbdf6-hkzh7        2/2     Running   0          44h
queue-master-6d4cf8c4ff-pzk68   2/2     Running   0          44h
rabbitmq-9dd69888f-6lzfh        3/3     Running   0          44h
session-db-7d9d77c495-zngsn     2/2     Running   0          44h
shipping-67fff9d476-t87jw       2/2     Running   0          44h
user-7b667cd8d-q8bg8            2/2     Running   0          44h
user-db-5599d45948-vxpq6        2/2     Running   0          44h
-
-
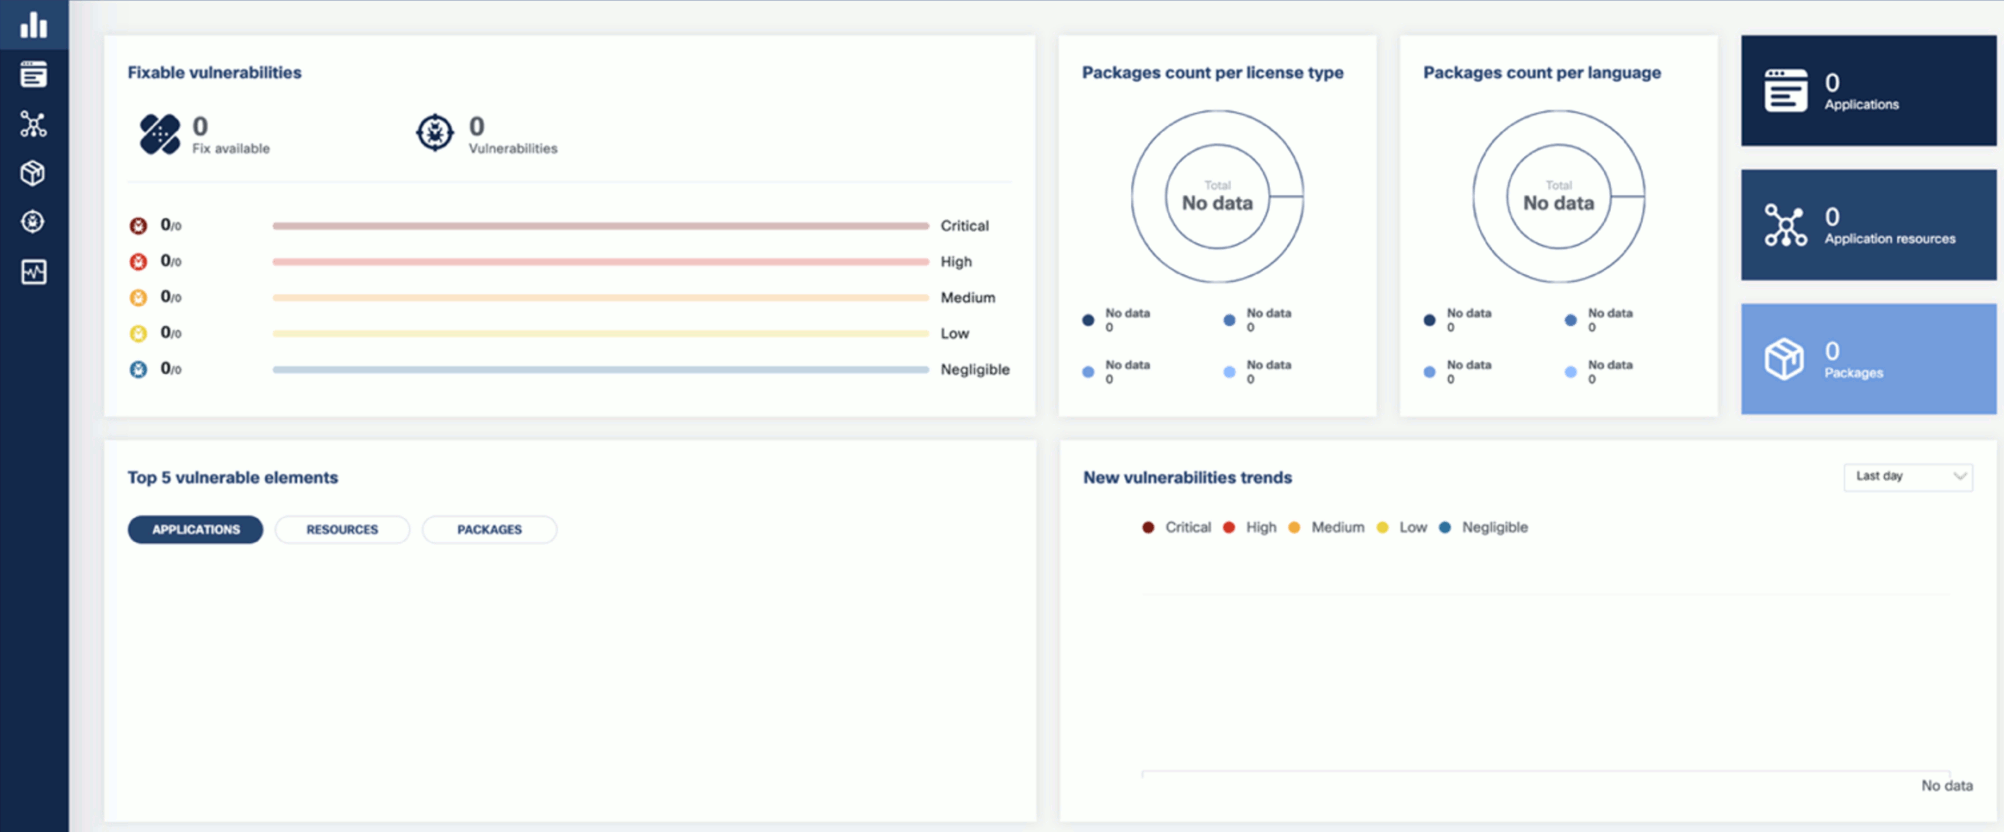
Open the KubeClarity UI in your browser at http://localhost:9999/. The KubeClarity dashboard should appear. KubeClarity UI has no data to report vulnerabilities after a fresh install, so there is no data on the dashboard.

-
If you also want to try KubeClarity using its command-line tool, Install the CLI. Otherwise, you can run runtime scans using the dashboard.
Uninstall using Helm
Later if you have finished experimenting with KubeClarity, you can delete the backend by completing the following steps.
-
Helm uninstall
helm uninstall kubeclarity --namespace kubeclarity -
Clean the resources. By default, Helm doesn’t remove the PVCs and PVs for the StatefulSets. Run the following command to delete them all:
kubectl delete pvc -l app.kubernetes.io/instance=kubeclarity --namespace kubeclarity
Build and run locally with demo data
-
Build the UI and the backend and start the backend locally, either using Docker, or without it:
-
Using docker:
-
Build UI and backend (the image tag is set using VERSION):
VERSION=test make docker-backend -
Run the backend using demo data:
docker run -p 9999:8080 -e FAKE_RUNTIME_SCANNER=true -e FAKE_DATA=true -e ENABLE_DB_INFO_LOGS=true -e DATABASE_DRIVER=LOCAL ghcr.io/openclarity/kubeclarity:test run
-
-
Local build:
-
Build UI and backend
make ui && make backend -
Copy the built site:
cp -r ./ui/build ./site -
Run the backend locally using demo data:
FAKE_RUNTIME_SCANNER=true DATABASE_DRIVER=LOCAL FAKE_DATA=true ENABLE_DB_INFO_LOGS=true ./backend/bin/backend run
-
-
-
Open the KubeClarity UI in your browser: http://localhost:9999/