First Tasks on the UI
Configure your first scan
-
Open the UI.
-
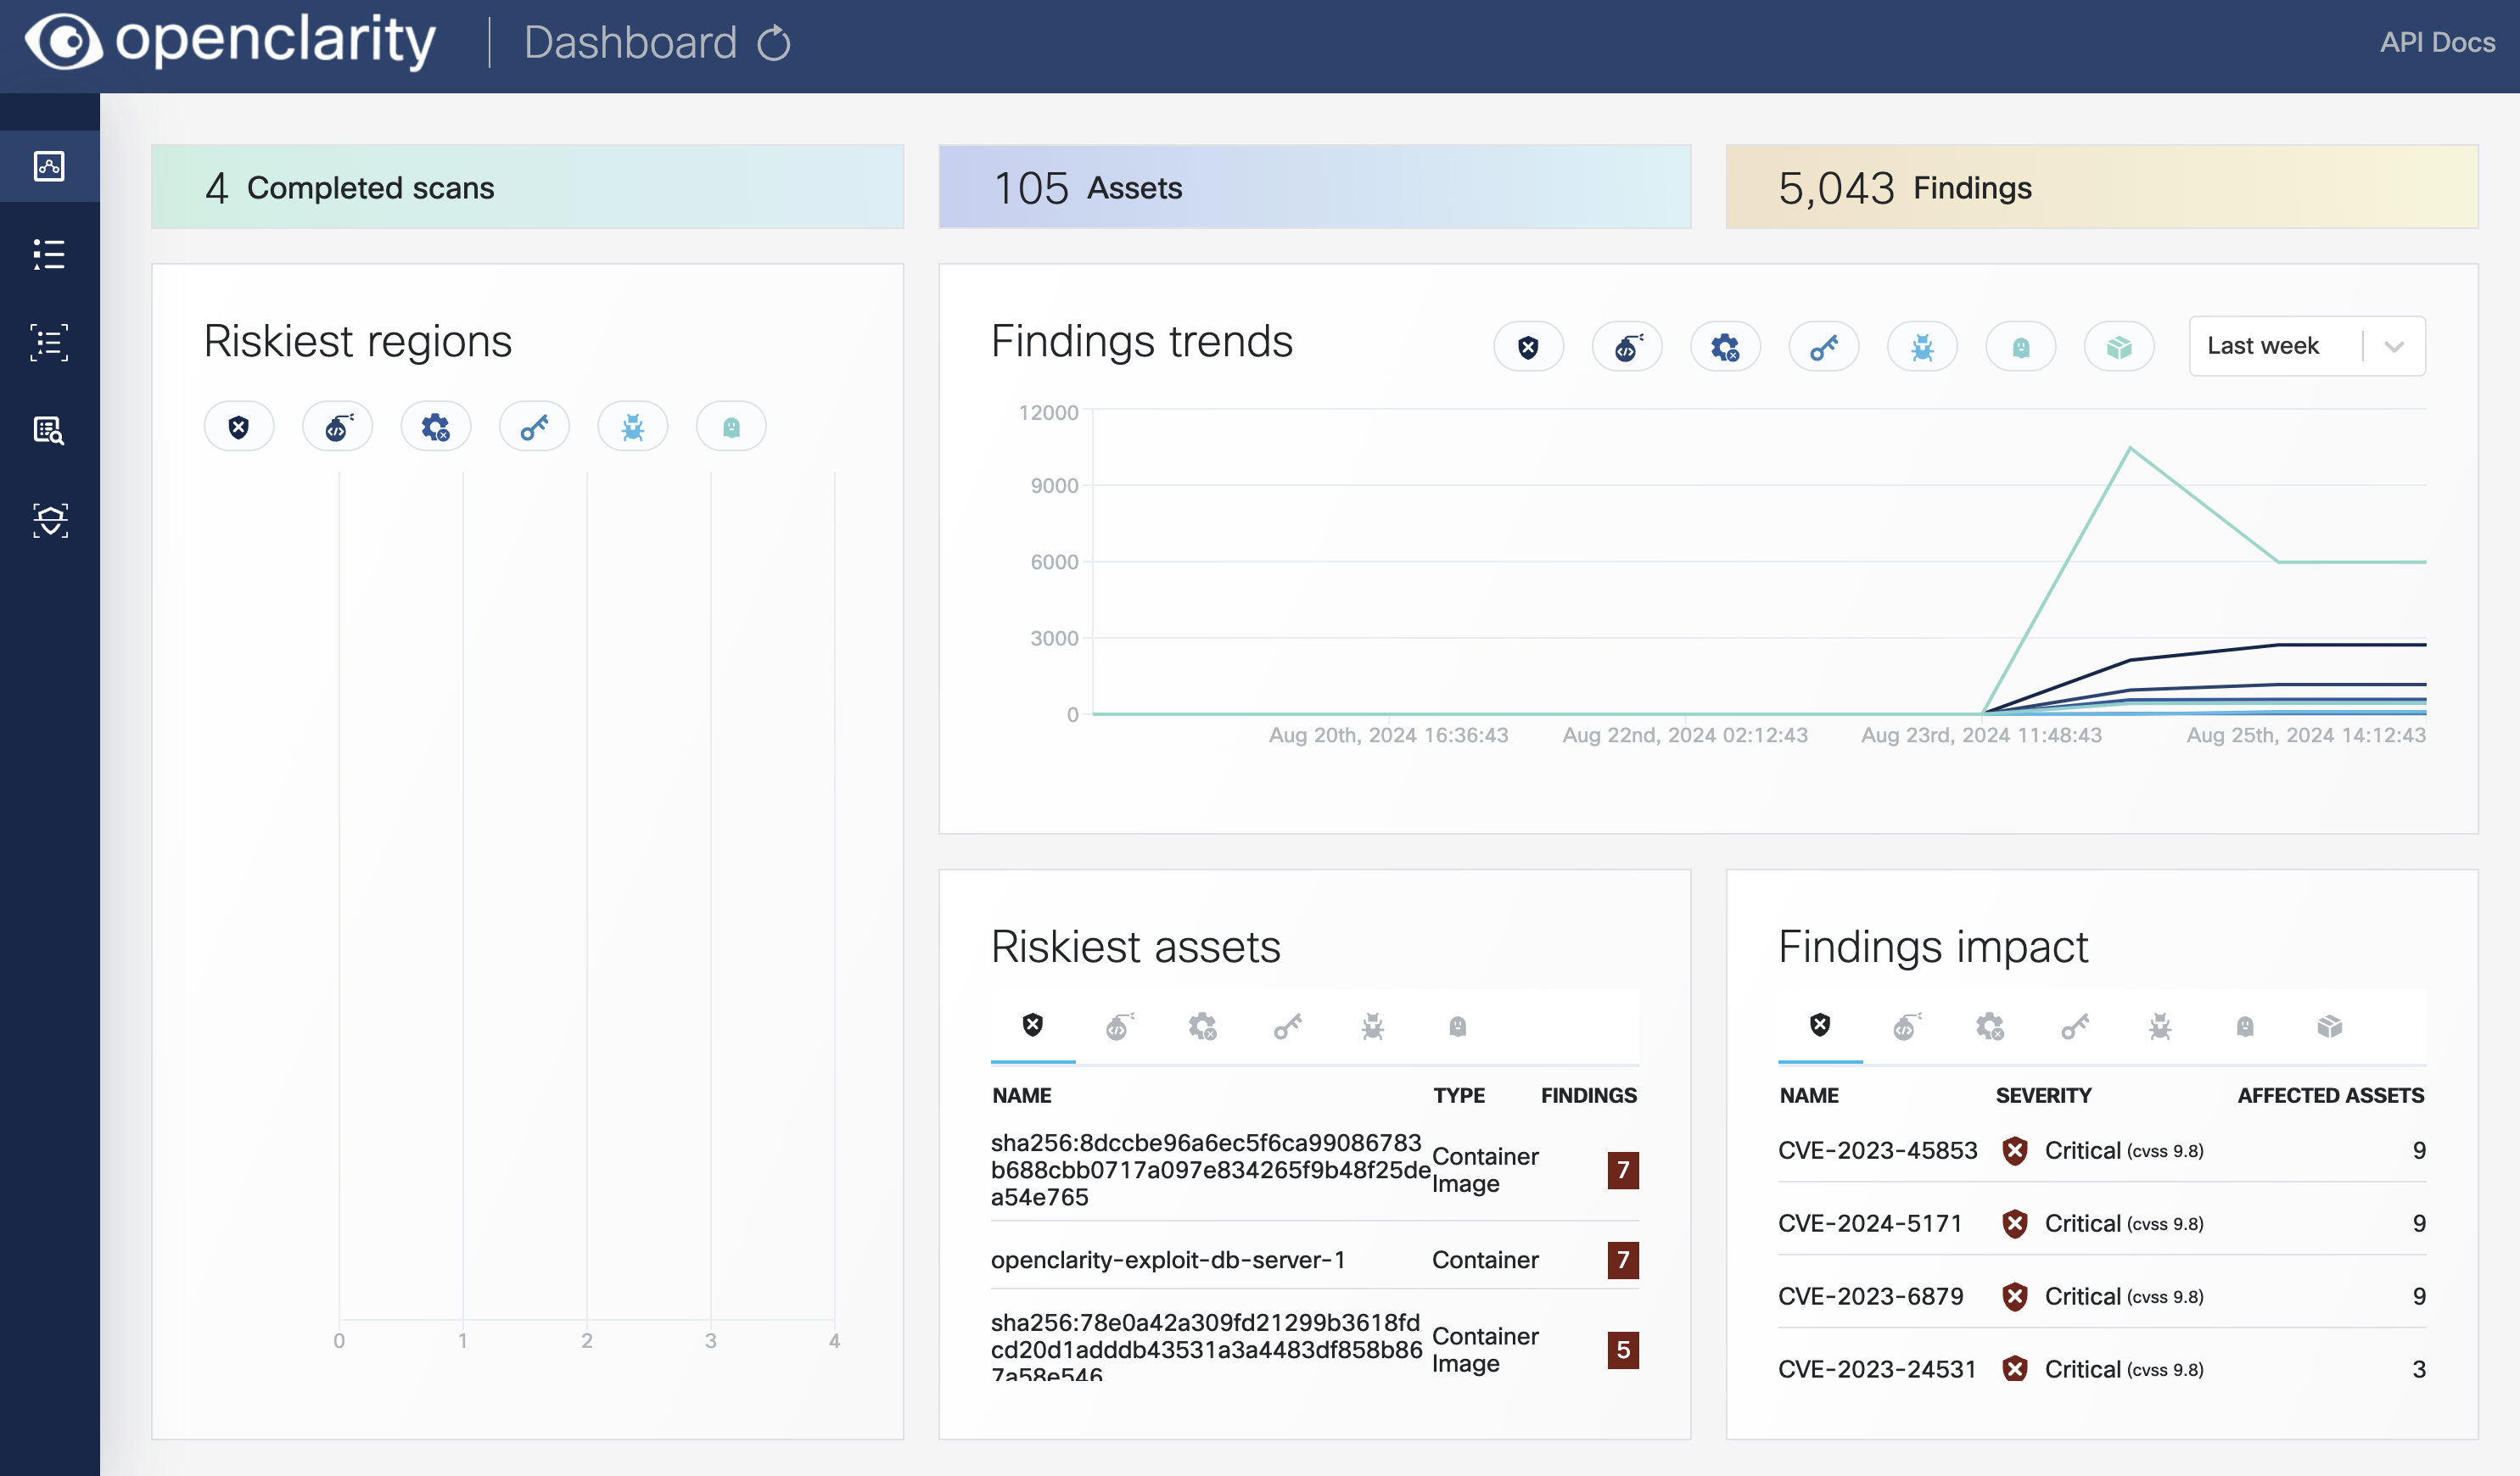
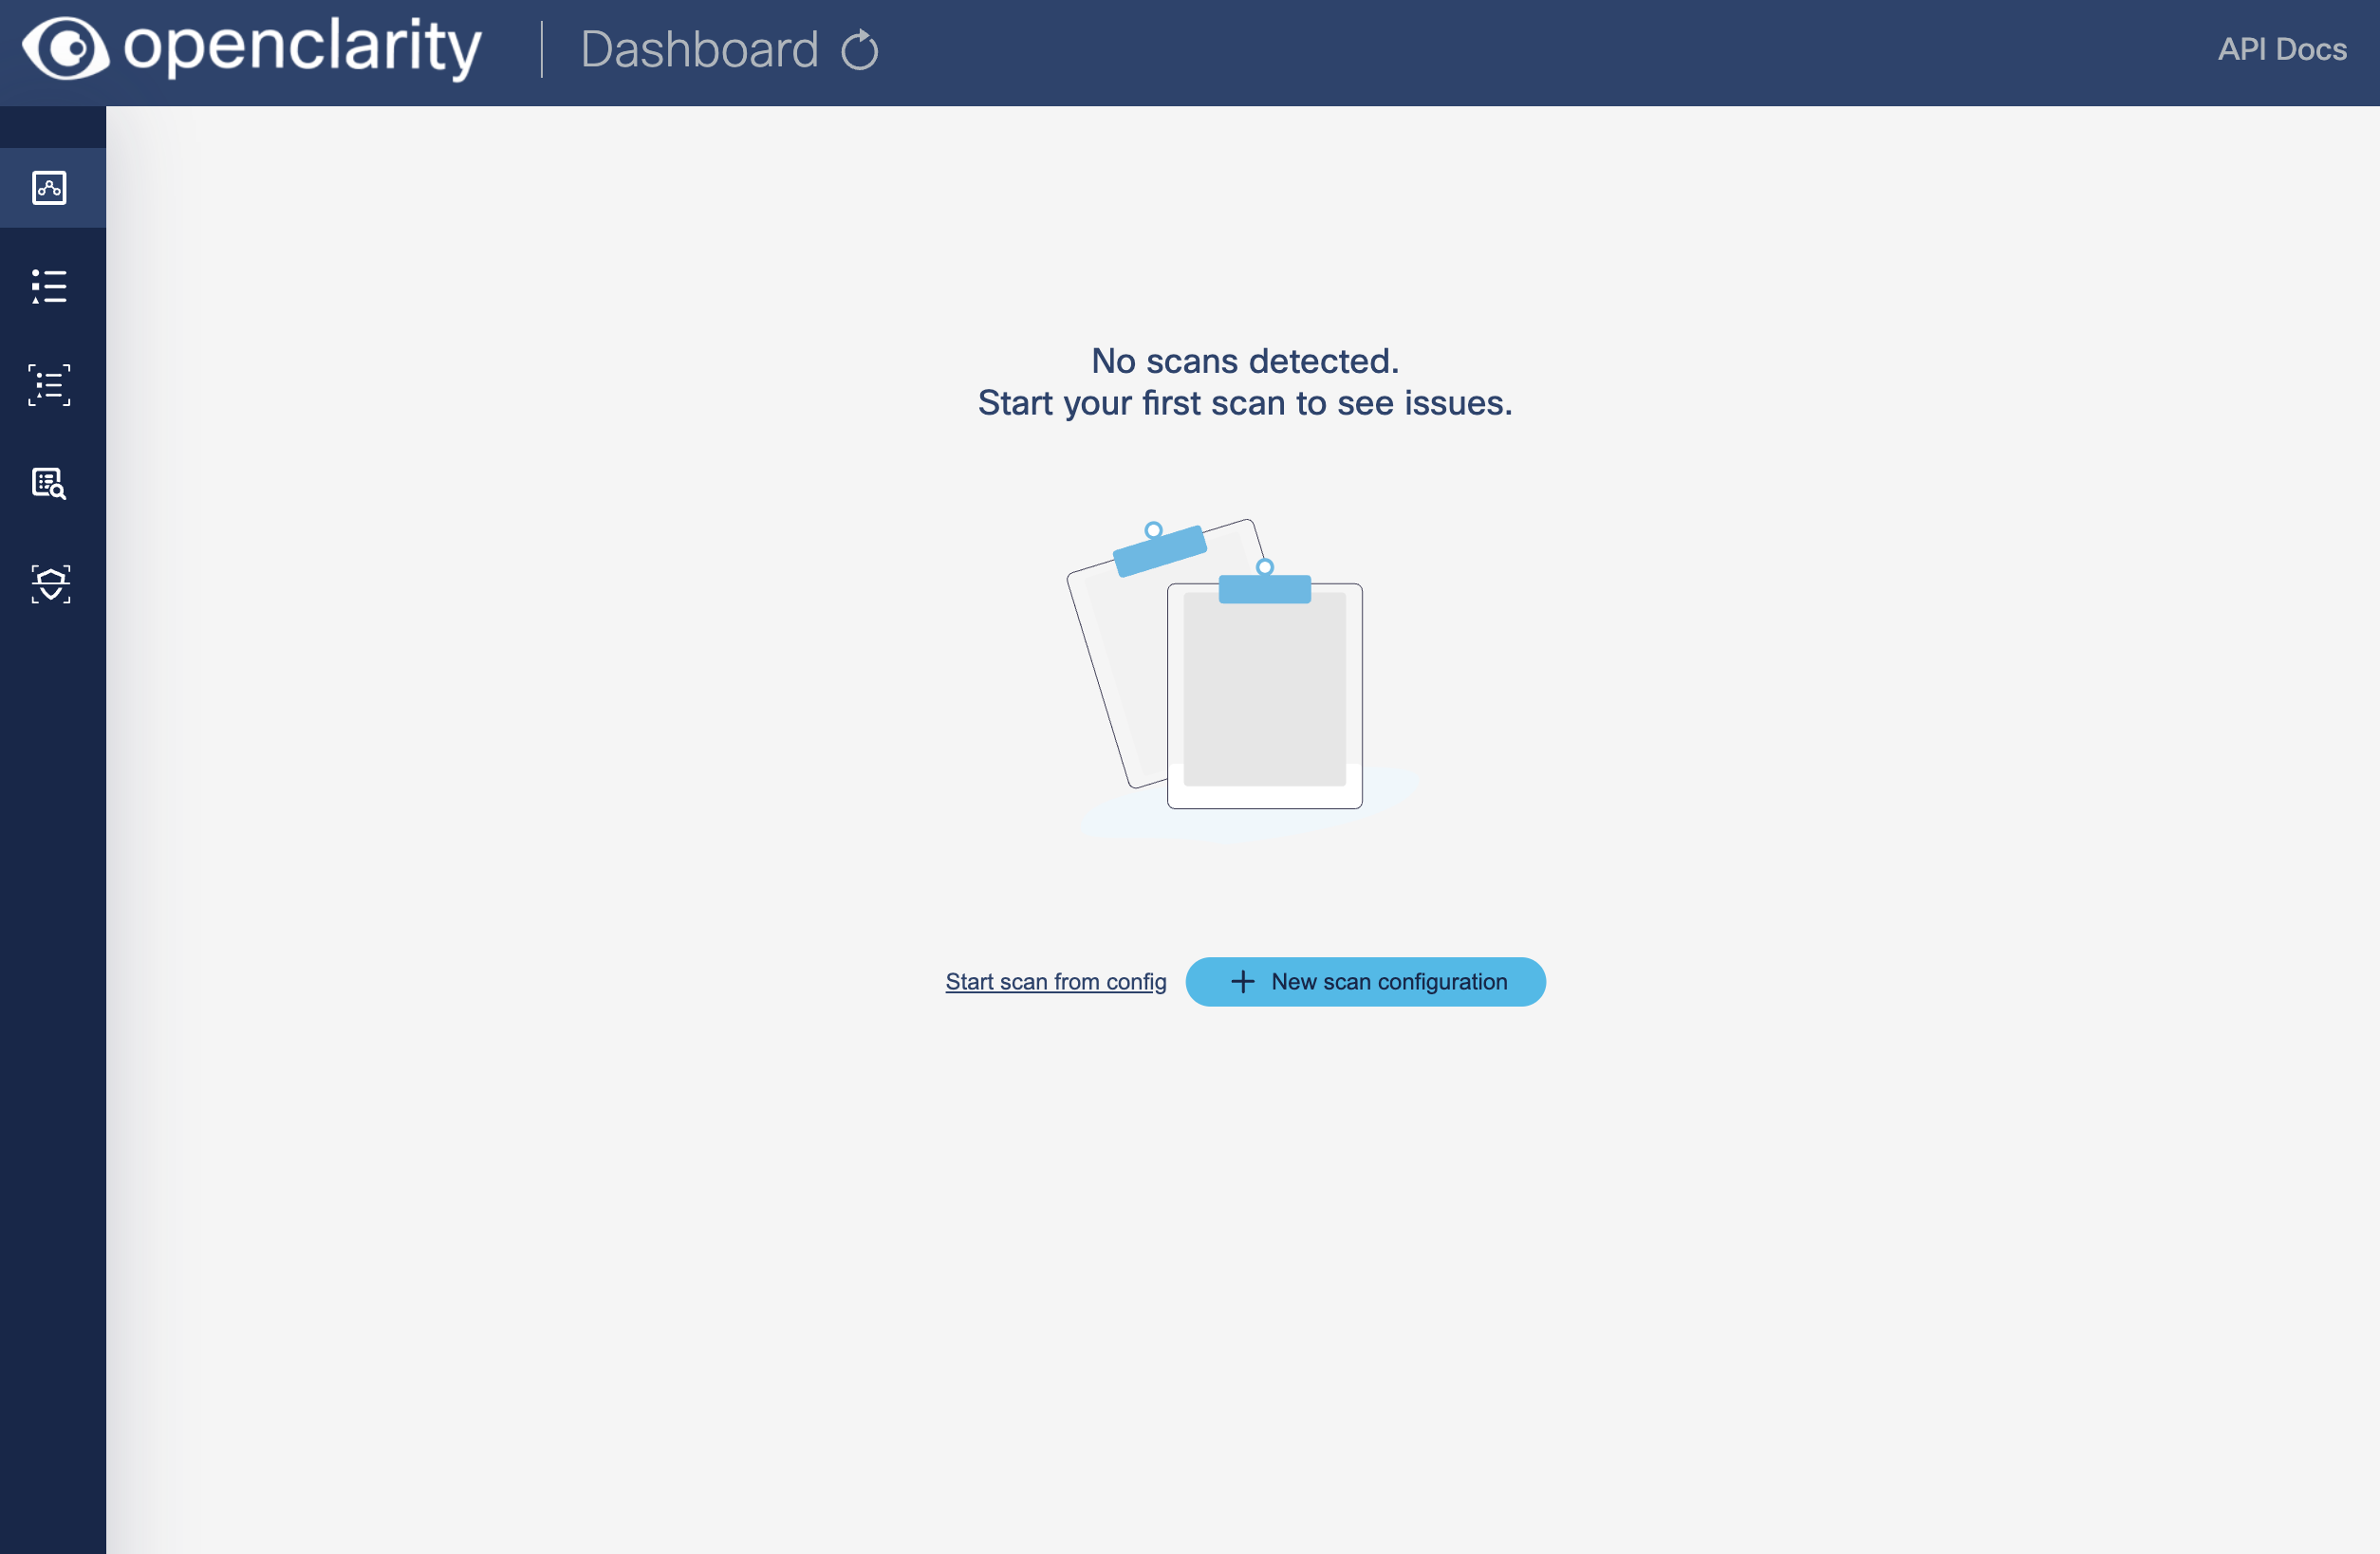
Open the OpenClarity UI in your browser at http://localhost:8080/. The dashboard opens.
-
(Optional) If needed, you can access the API at http://localhost:8080/api. For details on the API, see the API reference.
-
-
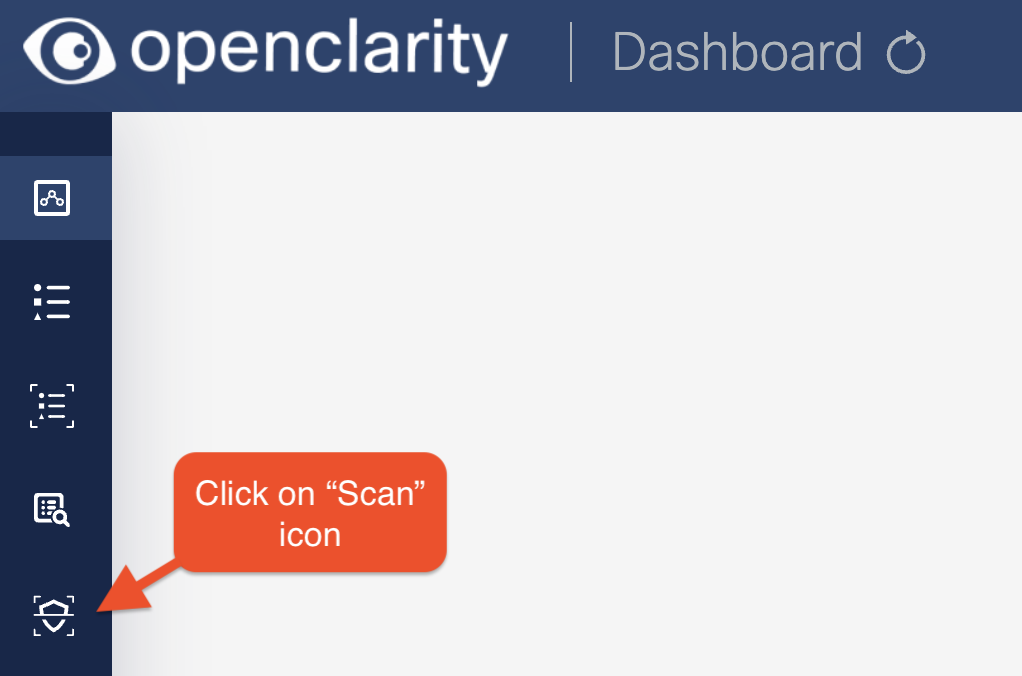
Click on the Scans icon. In the Scans window, you can create a new scan configuration.
-
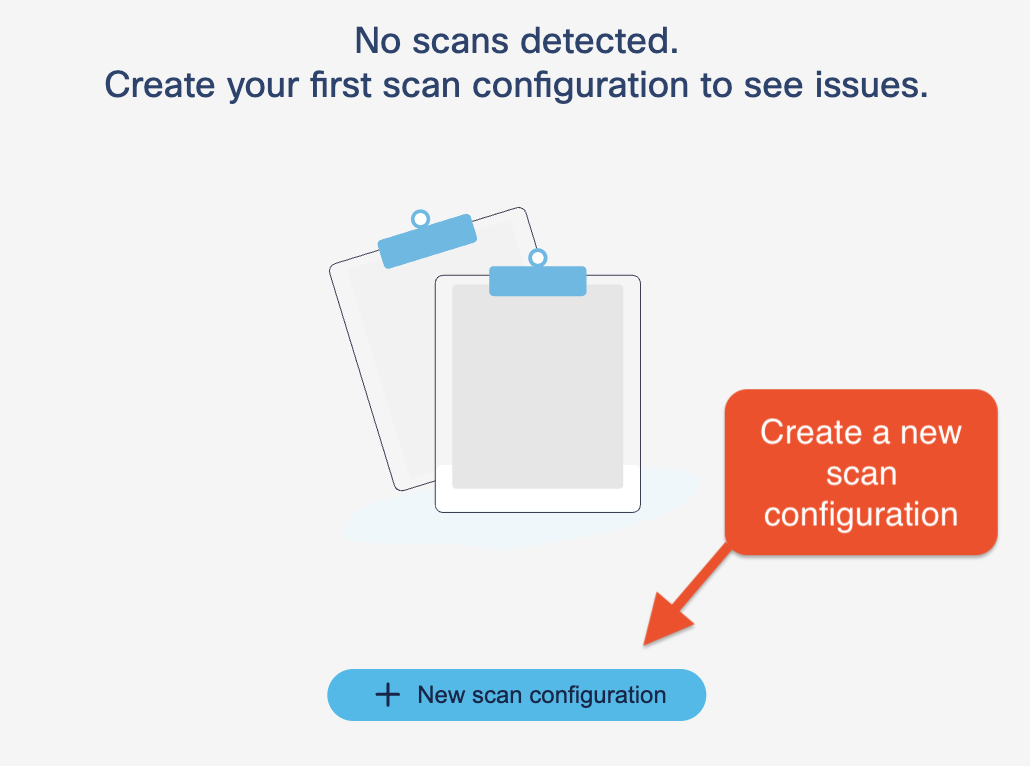
Click New scan configuration.
-
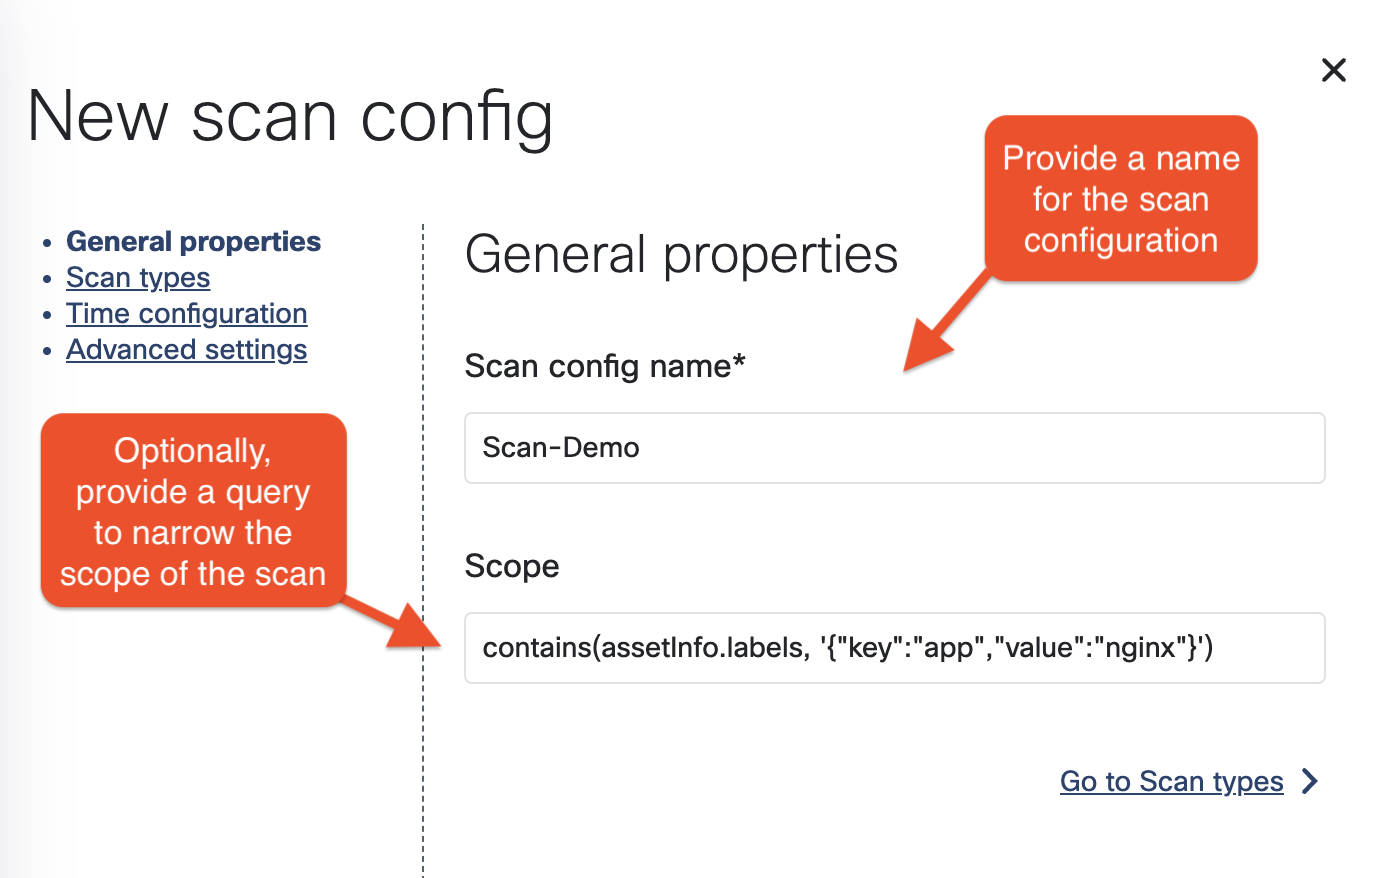
Follow the steps of the New scan config wizard to name the scan, and optionally narrow the scope down with an OData query.
-
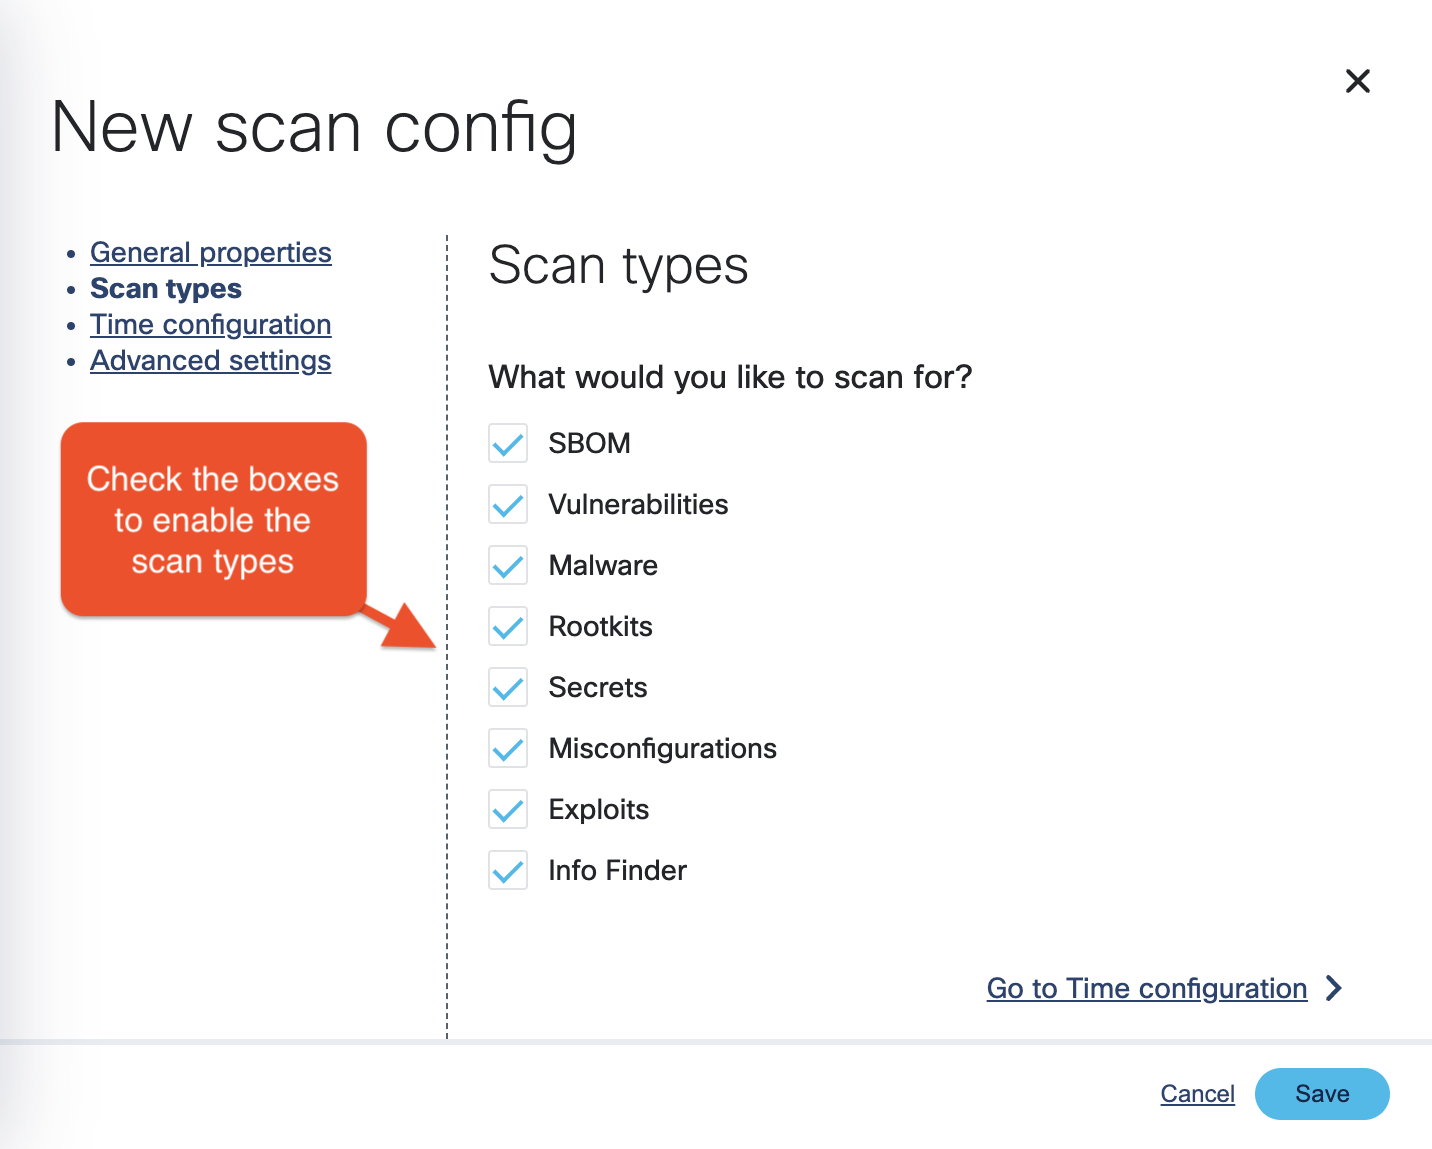
Enable the scan types you want to perform.
-
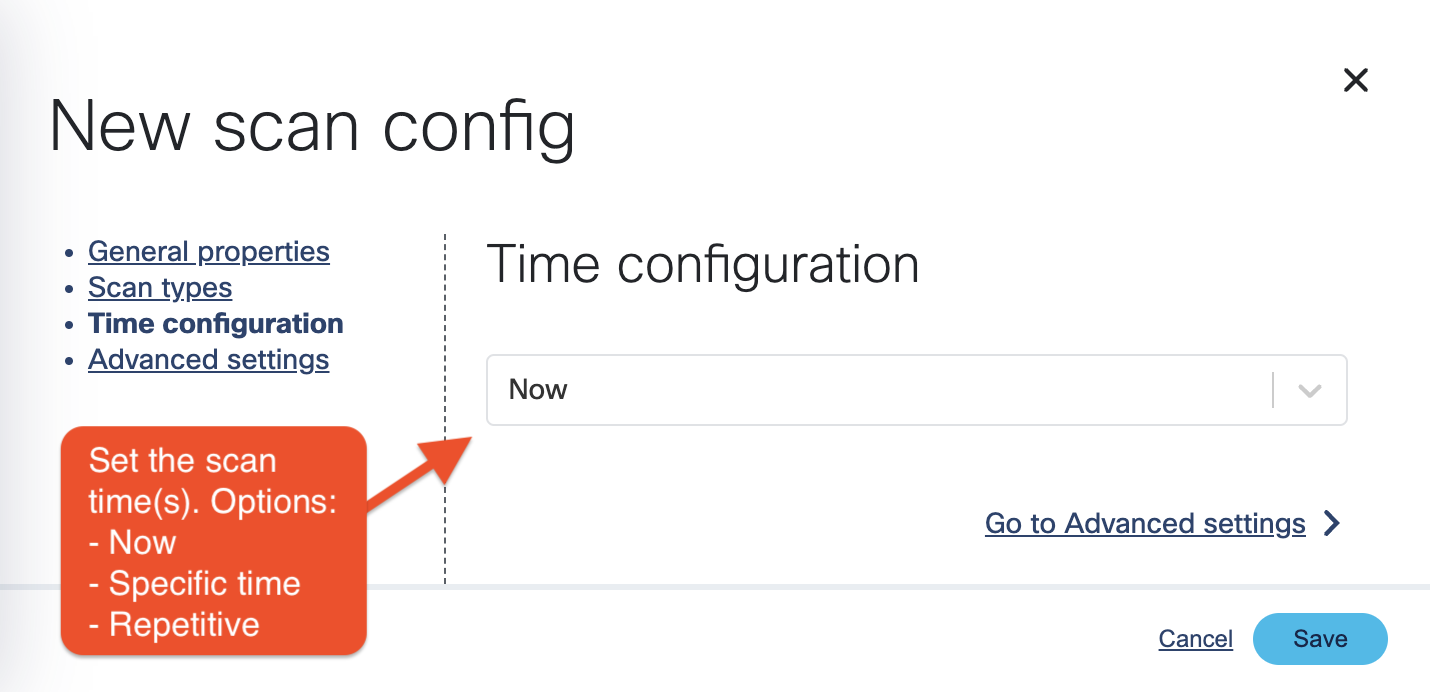
Select the time and/or frequency of the scans. To run the scan immediately, select Now.
-
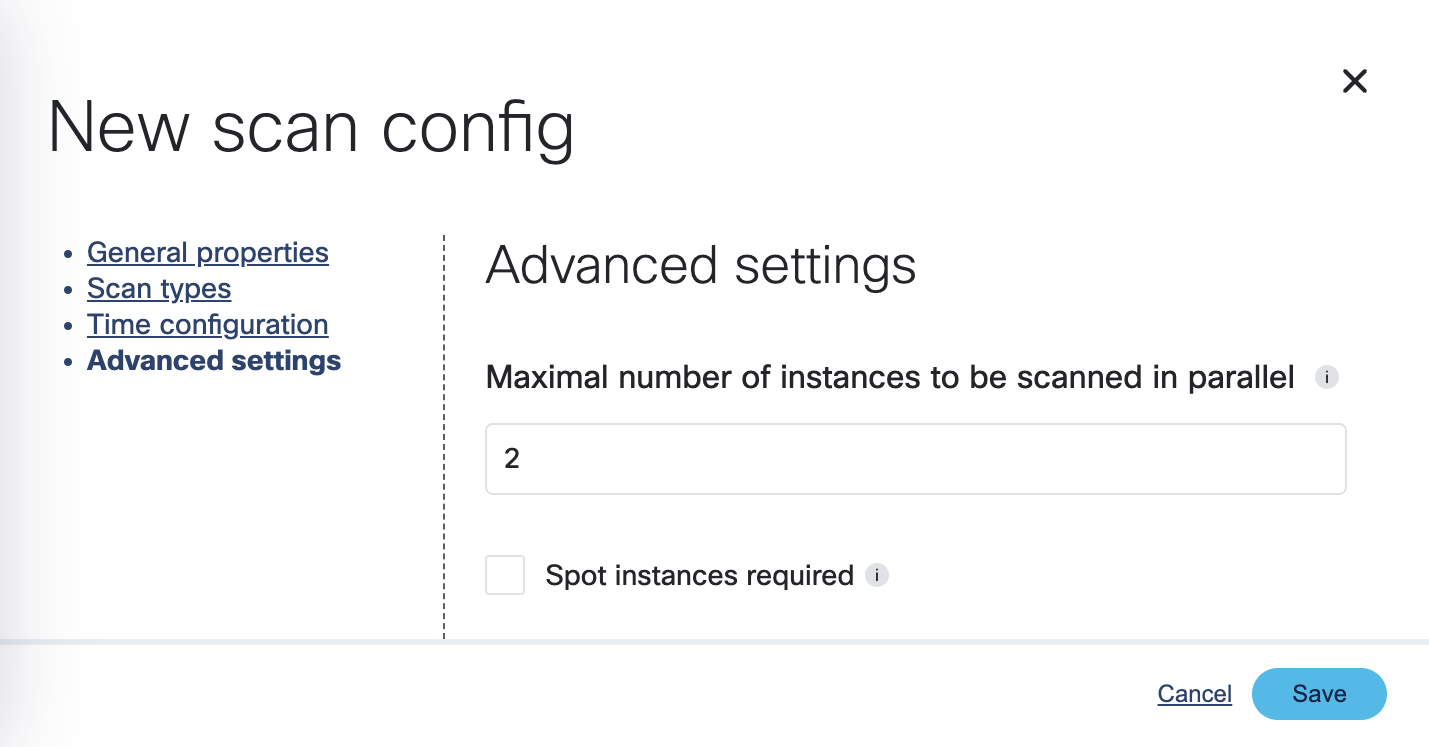
Optionally, adjust the number of scanners to run in parallel and whether to use spot instances on cloud providers, or not.
-
Click Save. The new scan appears on the Scan Configurations tab.

-
Once a scan is finished, you can browse around the various OpenClarity UI features and investigate the security scan reports.
