Configure your first scan
-
Open the UI.
-
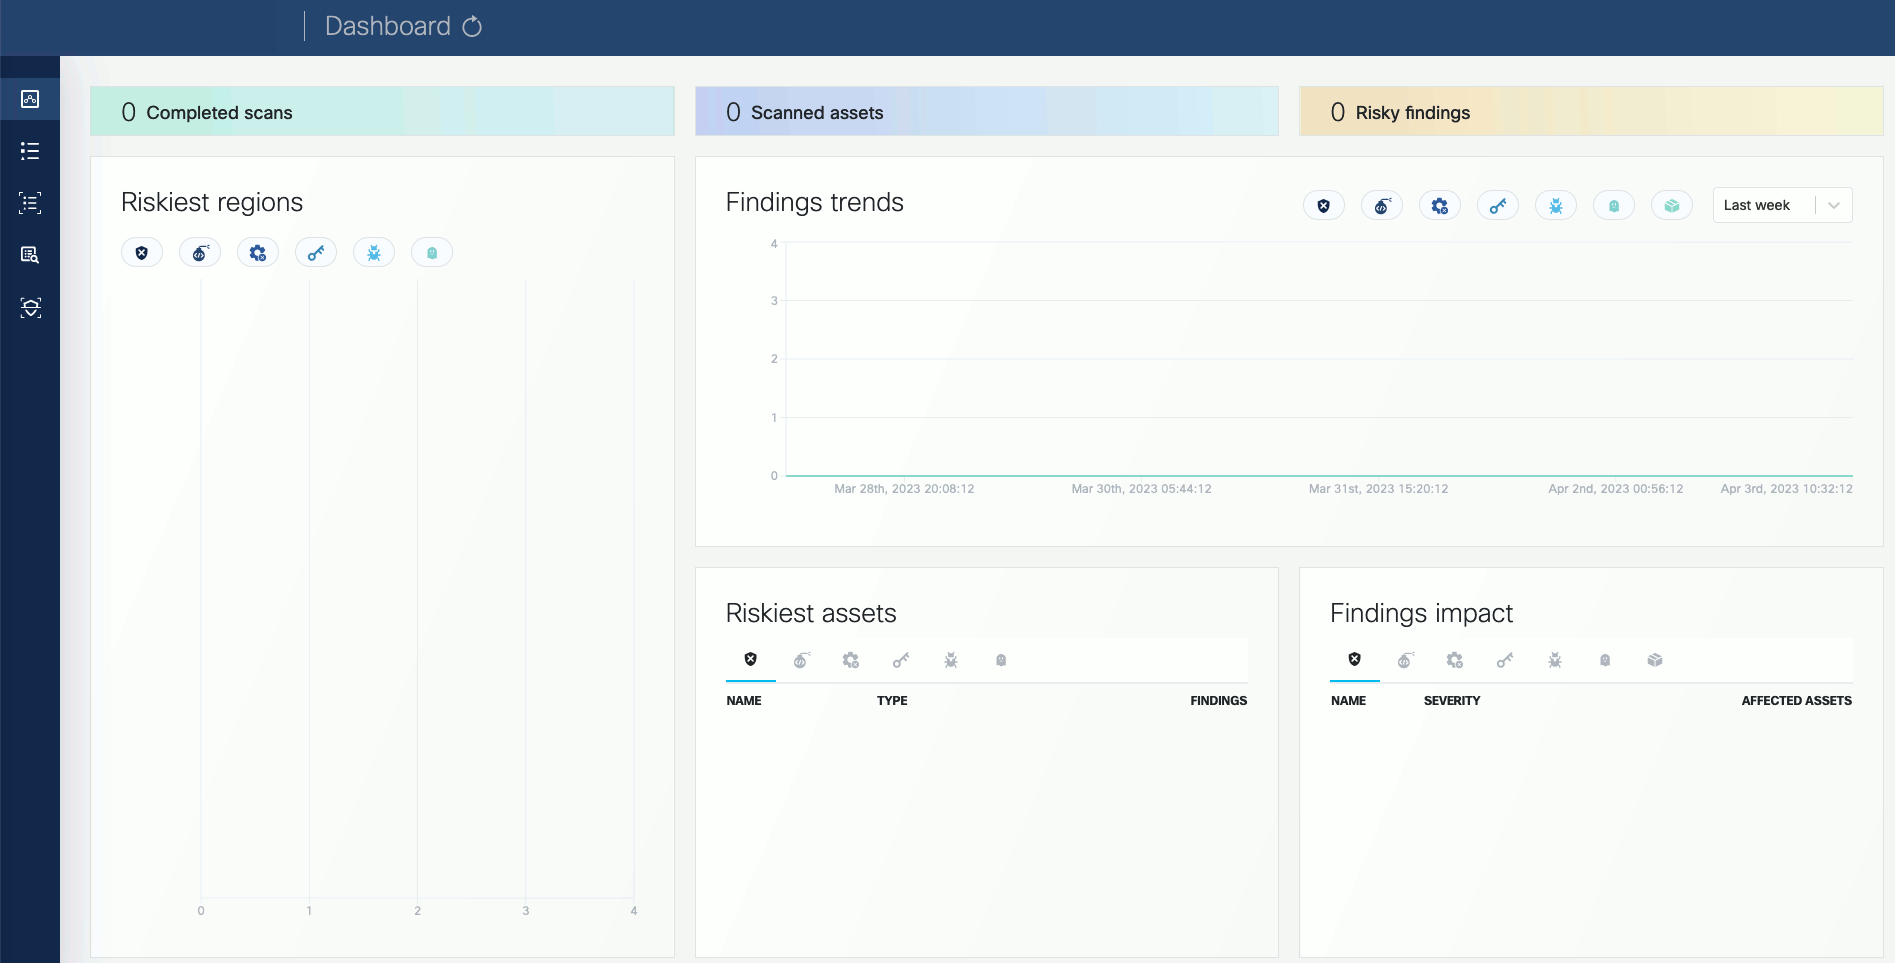
Open the VMClarity UI in your browser at http://localhost:8080/. The dashboard opens.
-
(Optional) If needed, you can access the API athttp://localhost:8080/api. For details on the API, see API reference.
-
-
Click on the Scans icon. In the Scans window, you can create a new scan configuration.

-
Click New scan configuration.

-
Follow the steps of the New scan config wizard to name the scan, and identify the AWS scope (region, VPC, security groups, etc). The following example shows the AWS us-east-2 region, a specific VPC, and the
vmclarity-demo-vmEC2
-
Enable the scan types you want to perform.

-
Select the time and/or frequency of the scans. To run the scan immediately, select Now.

-
Click Save. The new scan appears on the Scan Configurations tab.

-
Once a scan is finished, you can browse around the various VMClarity UI features and investigate the security scan reports.

